An outlet supplies electricity. Its small slots are not safe places for tools, fingers, or liquid.
Why it matters: Overloaded or loose connections can cause shock or fire.
Written guidance reviewed: September 17, 2026 · Sources and equipment assumptions are below.
Take this guide to another device
Steps, notes, supplies, setup choices, results and check dates save on this browser as you work. Plus can also keep an account copy. Account copies update only when you choose Save; loading one replaces the browser draft shown here.
Review all saved work. Saved account check dates appear in My Day. Clear the date and save again to finish a follow-up. Email settings stay separate; existing opted-in agenda or deadline emails can include these dated actions.
Understand the job before starting
Routine protection of an unused socket and repair of a damaged socket are separate jobs.
Use what you already have. Check each item when it is ready.
Before you begin
Do not repair a damaged outlet. Stop using it and report heat, scorch marks, crackling, looseness, or a burning smell.
0 of 4 steps checked0%
Guide progress and notes save on this browser; choose Save account copy above to carry them to another device with Plus. Downloads contain the complete blank checklist; print to include your current checks and notes.
Do it with me
Your step position saves on this browser. Use the picture when available, then check the written result.
STEP 1 OF 4
Check before plugging in
Start here: Check before plugging in
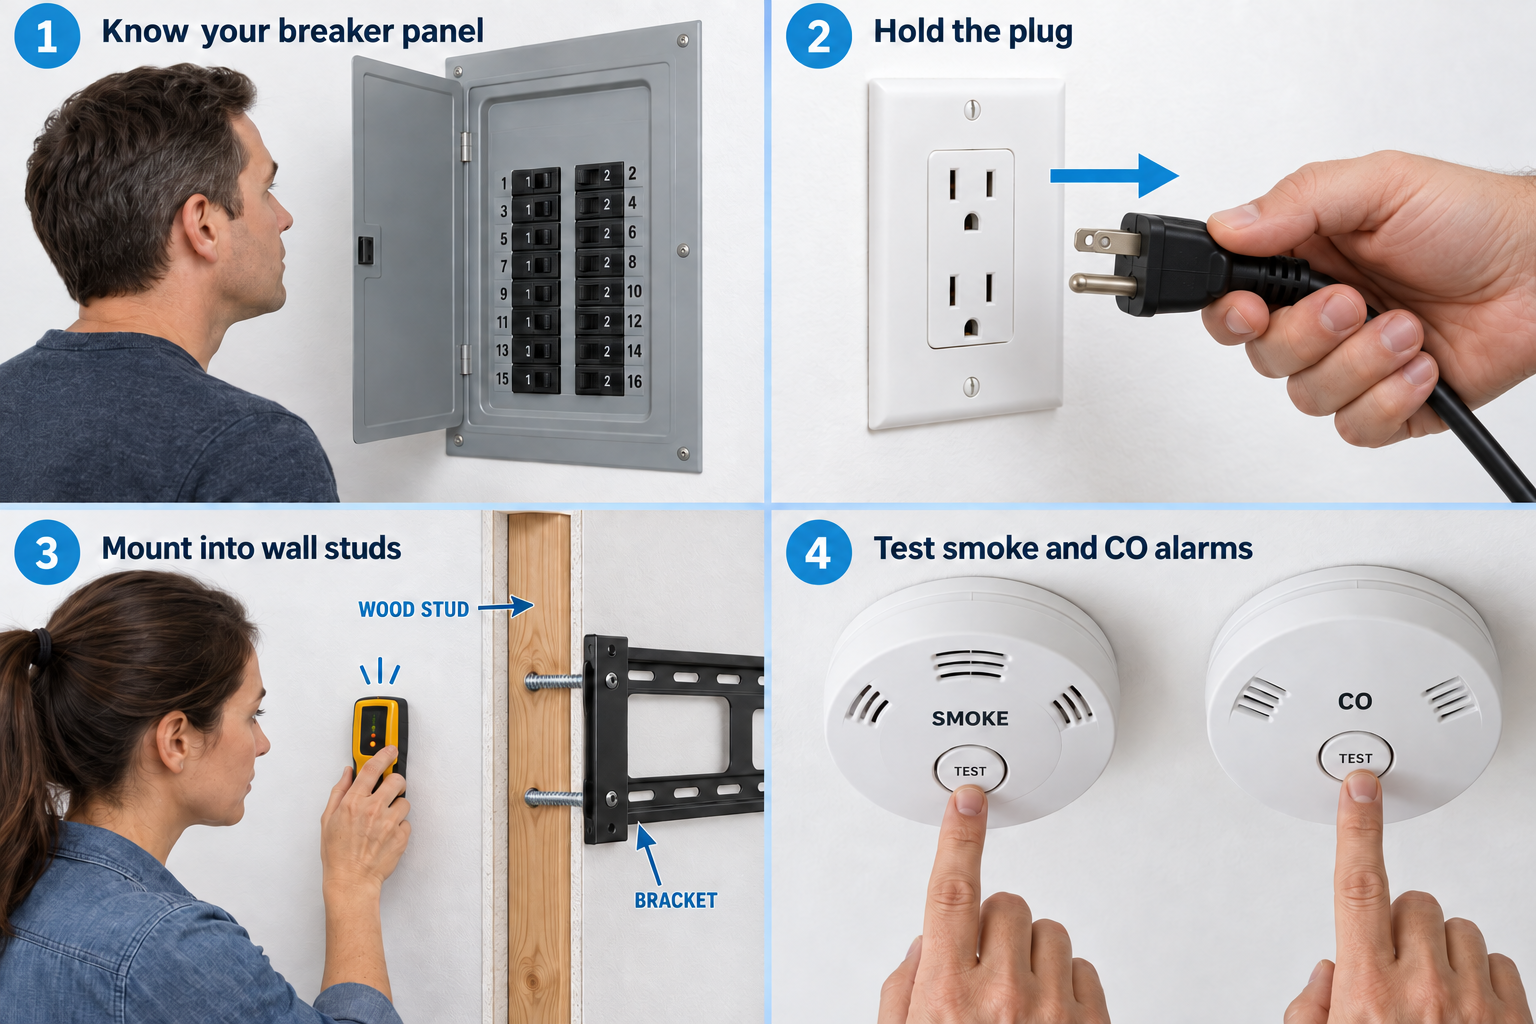
Illustration: Hold the plug. Read the steps for your exact task.
Read-aloud is available in supported browsers; the written steps always remain available.
Use dry hands.
Look for damaged cords or plugs.
Match the plug without removing the round ground pin.
Pull by the plug body to unplug, not by the cord.
Keep cords out from under rugs and away from wet areas.
Before moving to the next step
Check this specific result: The plug, cord, and outlet look undamaged.
If that result is not true yet, leave the box unchecked. Write what is missing in your notes; use the official instructions below when the equipment or situation differs.
STEP 1 OF 4
Check before plugging in
Start here: Check before plugging in
Illustration: Hold the plug. Read the steps for your exact task.
Use dry hands.
Look for damaged cords or plugs.
Match the plug without removing the round ground pin.
Pull by the plug body to unplug, not by the cord.
Keep cords out from under rugs and away from wet areas.
Before moving to the next step
Check this specific result: The plug, cord, and outlet look undamaged.
If that result is not true yet, leave the box unchecked. Write what is missing in your notes; use the official instructions below when the equipment or situation differs.
STEP 2 OF 4
Avoid overloading
Start here: Avoid overloading outlets.
Example: Avoid overloading outlets. Follow the written step.
Follow each appliance’s instructions.
High-power heaters and many cooking appliances need a direct wall connection.
Do not connect one power strip to another.
A surge strip does not add electrical capacity.
If plugs will not fit without force, ask an electrician.
Before moving to the next step
Check this specific result: I am using the correct connection for the appliance.
If that result is not true yet, leave the box unchecked. Write what is missing in your notes; use the official instructions below when the equipment or situation differs.
STEP 3 OF 4
Learn the TEST and RESET buttons
Start here: Read the GFCI instructions.
Example: Read the GFCI instructions. Follow the written step.
A GFCI outlet can shut off power when it detects a dangerous imbalance.
Follow its test schedule and instructions; one GFCI can protect other outlets.
If it will not reset after loads are unplugged, request service.
Never bypass protection.
Before moving to the next step
Check this specific result: I know which GFCI protects this area.
If that result is not true yet, leave the box unchecked. Write what is missing in your notes; use the official instructions below when the equipment or situation differs.
STEP 4 OF 4
Choose covers that fit the household
Start here: Choose covers that fit the household
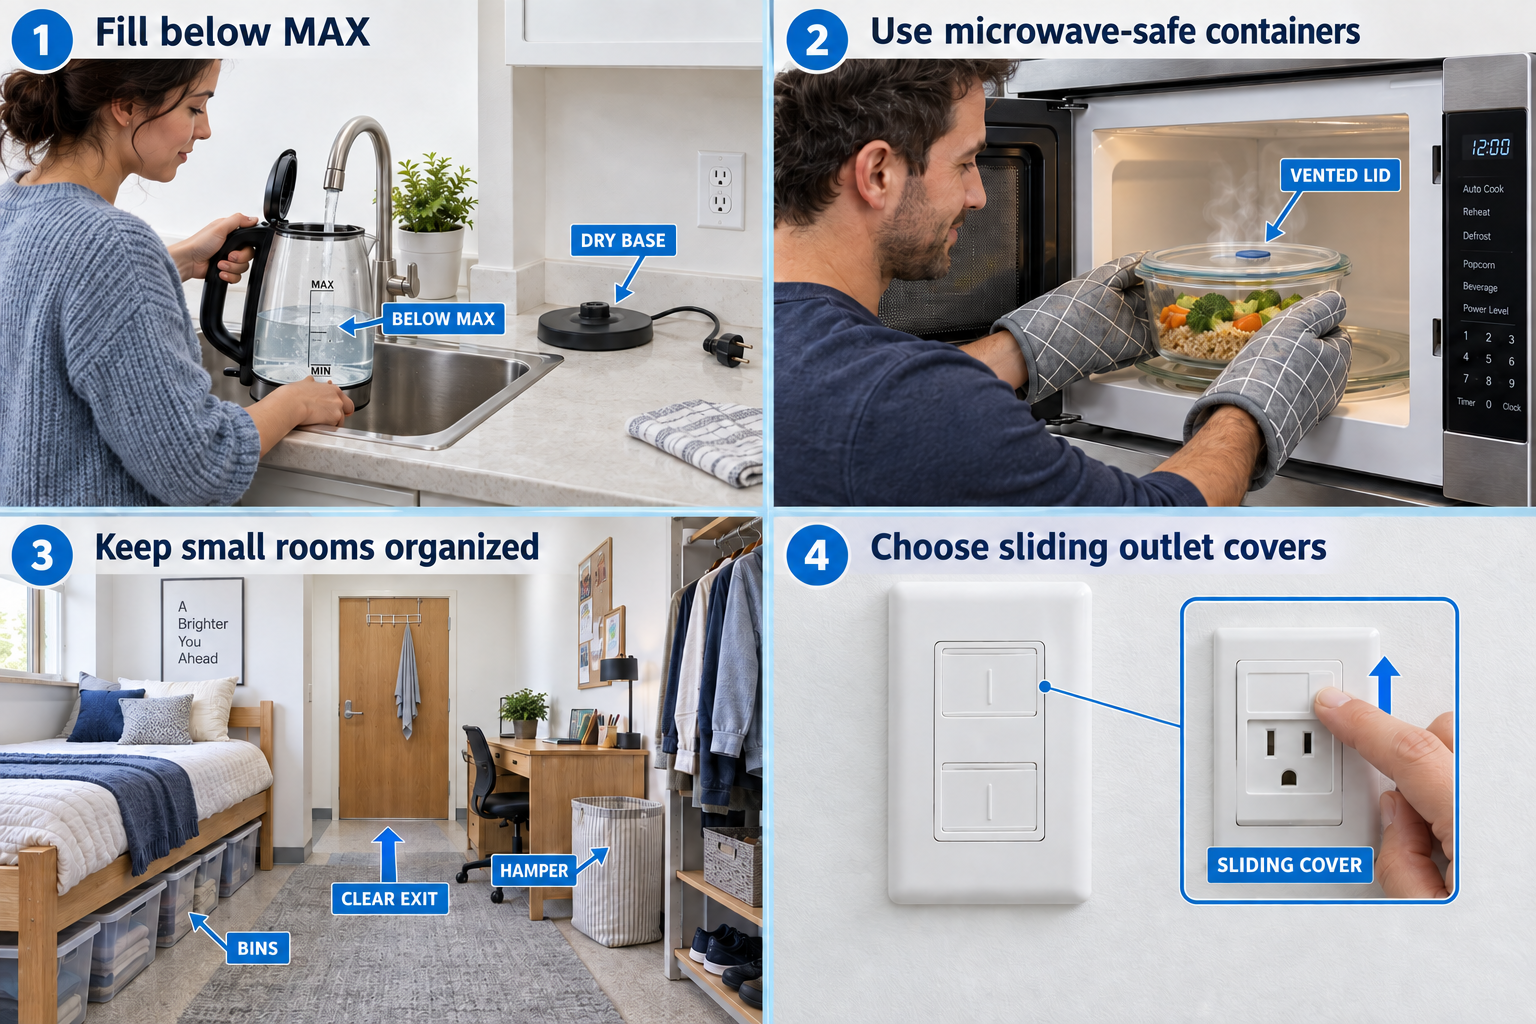
Illustration: Choose sliding outlet covers. Read the steps for your exact task.
For young children, ask about tamper-resistant receptacles and listed sliding covers.
Small removable plastic caps can themselves be choking hazards.
Use a product designed for your outlet and supervision needs; do not put tape, paper, or objects into slots.
Before moving to the next step
Check this specific result: Unused outlets have suitable protection where needed.
If that result is not true yet, leave the box unchecked. Write what is missing in your notes; use the official instructions below when the equipment or situation differs.
Pictures for this guide
Picture 1 of 4 · Hold the plug
A hand grips the insulated body of an unplugged grounded three-prong plug, with an arrow pointing away from the outlet.
For: Check before plugging in
Illustrations show examples of the actions above. Follow your equipment’s instructions.
Notes about these pictures
Use dry hands. Look for damaged cords or plugs. Match the plug without removing the round ground pin. Pull by the plug body to unplug, not by the cord. Keep cords out from under rugs and away from wet areas.
Do not repair a damaged outlet. Stop using it and report heat, scorch marks, crackling, looseness, or a burning smell.
Was this step clear?
Flag “Check before plugging in” for review. We save the guide and step identifiers with your account to limit duplicates, not your private notes.
Link details checked 2026-10-03. Video availability and equipment menus can change.
These YouTube videos belong to their respective creators. Life’s Checklists does not own them and is not affiliated with the creators. Links open on YouTube, where the videos are available independently of our membership.
How to use the video with this guide
Read “Before you begin” first. Watch the relevant part, pause, then return to the written step and its completion check. Use captions and playback speed if they help. A demonstration may cover only part of the task or show different equipment.
Your model’s instructions and current official guidance take priority. For urgent problems, follow the stop instructions without waiting to watch a video.
For this guide, the final result is: Unused outlets have suitable protection where needed.
A concrete way to approach this task
Identify which outlets need routine child-protection measures and which show a problem requiring help. These are separate tasks.
What if I cannot complete a step?
If an outlet has a fault or damage, follow the stop guidance instead of treating it as an ordinary unused socket.
Identify the exact step: “Check before plugging in.” Record what you tried, what happened, and which item or model you used. Ask for help with that specific problem rather than repeating an unsafe or unsuccessful action.
Do not repair a damaged outlet. Stop using it and report heat, scorch marks, crackling, looseness, or a burning smell.
Connect this skill to everyday life
Write down the total move-in cash and monthly costs before applying. Ask which charges are required and which are optional.
Advertised rent is not necessarily the whole monthly cost. A refundable deposit still needs cash now. An application does not mean you have a signed lease.