Small appliances use electricity to heat food or water. Each one needs space, supervision, and the right container.
Why it matters: Steam, hot surfaces, blocked vents, and metal in the wrong place can cause burns or fire.
Written guidance reviewed: September 17, 2026 · Sources and equipment assumptions are below.
Take this guide to another device
Steps, notes, supplies, setup choices, results and check dates save on this browser as you work. Plus can also keep an account copy. Account copies update only when you choose Save; loading one replaces the browser draft shown here.
Review all saved work. Saved account check dates appear in My Day. Clear the date and save again to finish a follow-up. Email settings stay separate; existing opted-in agenda or deadline emails can include these dated actions.
Understand the job before starting
Controls, permitted containers and cleaning directions belong to the exact appliance.
A common mistake to avoid
Instructions for one appliance do not automatically transfer to another.
Use what you already have. Check each item when it is ready.
Before you begin
Do not use a grill, toaster, kettle, or coffee maker in a dorm unless the school allows that exact type. Never use charcoal, propane, or camping stoves indoors.
0 of 6 steps checked0%
Guide progress and notes save on this browser; choose Save account copy above to carry them to another device with Plus. Downloads contain the complete blank checklist; print to include your current checks and notes.
Do it with me
Your step position saves on this browser. Use the picture when available, then check the written result.
STEP 1 OF 6
Choose an allowed place
Start here: Choose an allowed location.
Example: Choose an allowed location. Follow the written step.
Read-aloud is available in supported browsers; the written steps always remain available.
Read the school’s housing appliance list before buying.
Ask about wattage, automatic shutoff, and where cooking is allowed.
Put an allowed appliance on a stable heat-resistant counter away from water, curtains, paper, and the edge.
Leave its required clearance.
Before moving to the next step
Check this specific result: The appliance and location are permitted.
If that result is not true yet, leave the box unchecked. Write what is missing in your notes; use the official instructions below when the equipment or situation differs.
STEP 1 OF 6
Choose an allowed place
Start here: Choose an allowed location.
Example: Choose an allowed location. Follow the written step.
Read the school’s housing appliance list before buying.
Ask about wattage, automatic shutoff, and where cooking is allowed.
Put an allowed appliance on a stable heat-resistant counter away from water, curtains, paper, and the edge.
Leave its required clearance.
Before moving to the next step
Check this specific result: The appliance and location are permitted.
If that result is not true yet, leave the box unchecked. Write what is missing in your notes; use the official instructions below when the equipment or situation differs.
STEP 2 OF 6
Use a toaster for approved food
Start here: Use a toaster for approved food
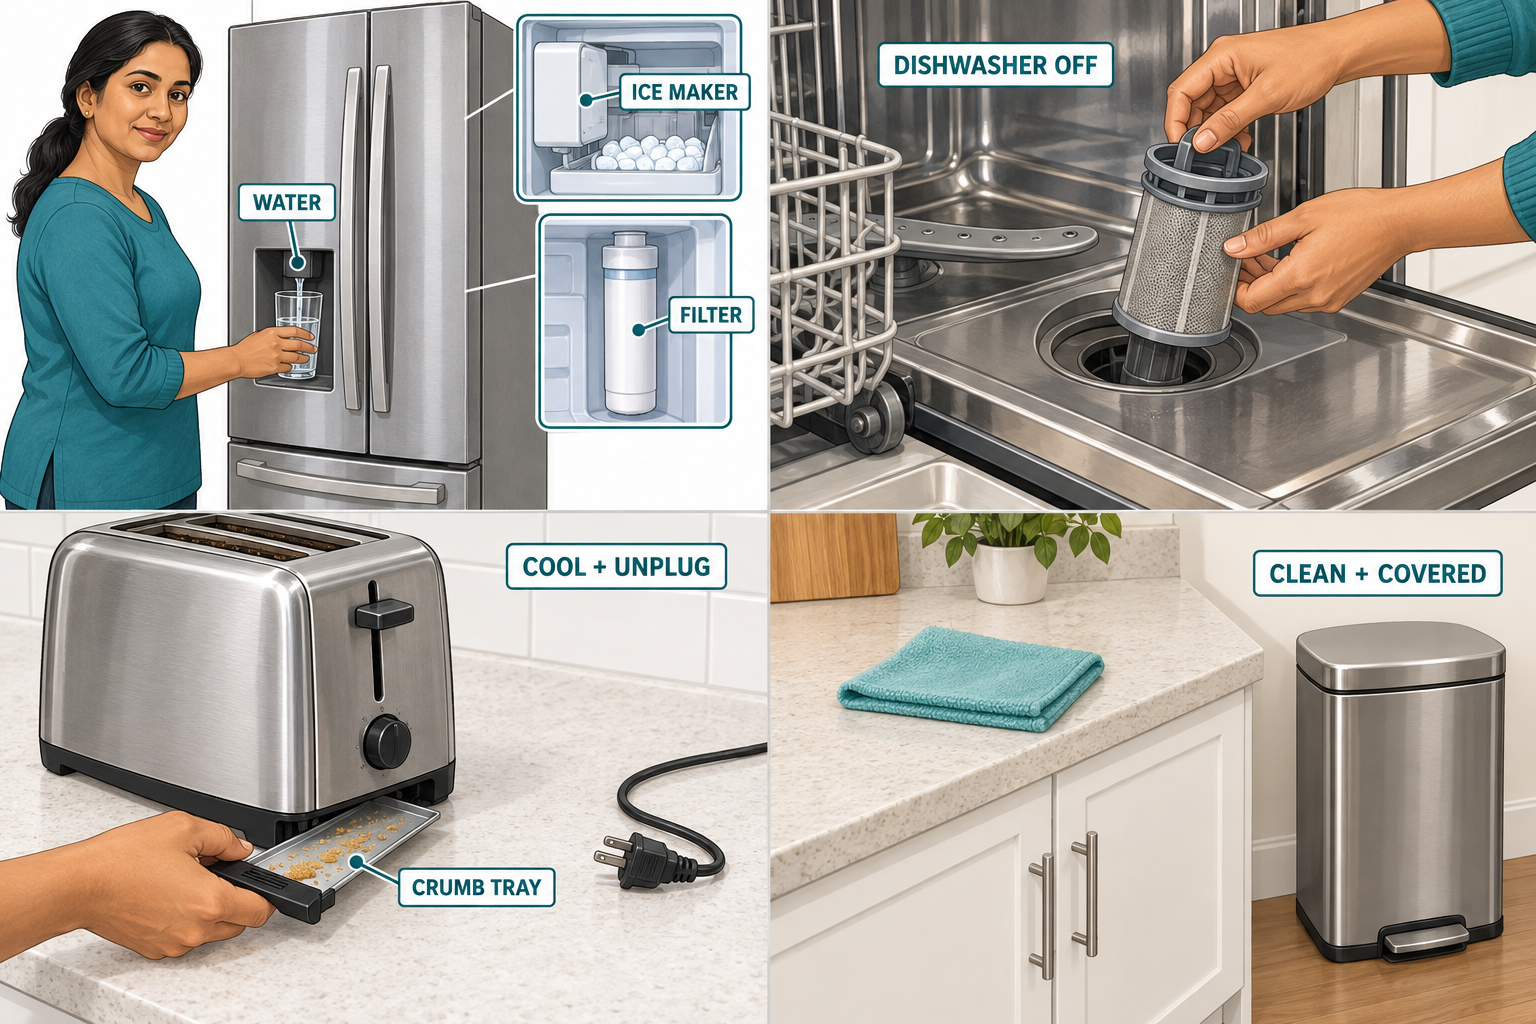
Illustration: Cool and unplug toaster. Read the steps for your exact task.
Put suitable bread in the slots, choose a light setting first, and stay nearby.
Do not add butter or wrapped food before toasting.
If food sticks, unplug and let it cool; never insert a metal utensil.
Empty the crumb tray only when unplugged and cool.
Before moving to the next step
Check this specific result: I know the toaster’s safe loading and crumb-cleaning steps.
If that result is not true yet, leave the box unchecked. Write what is missing in your notes; use the official instructions below when the equipment or situation differs.
STEP 3 OF 6
Choose pod coffee or drip coffee
Start here: Choose pod coffee or drip coffee
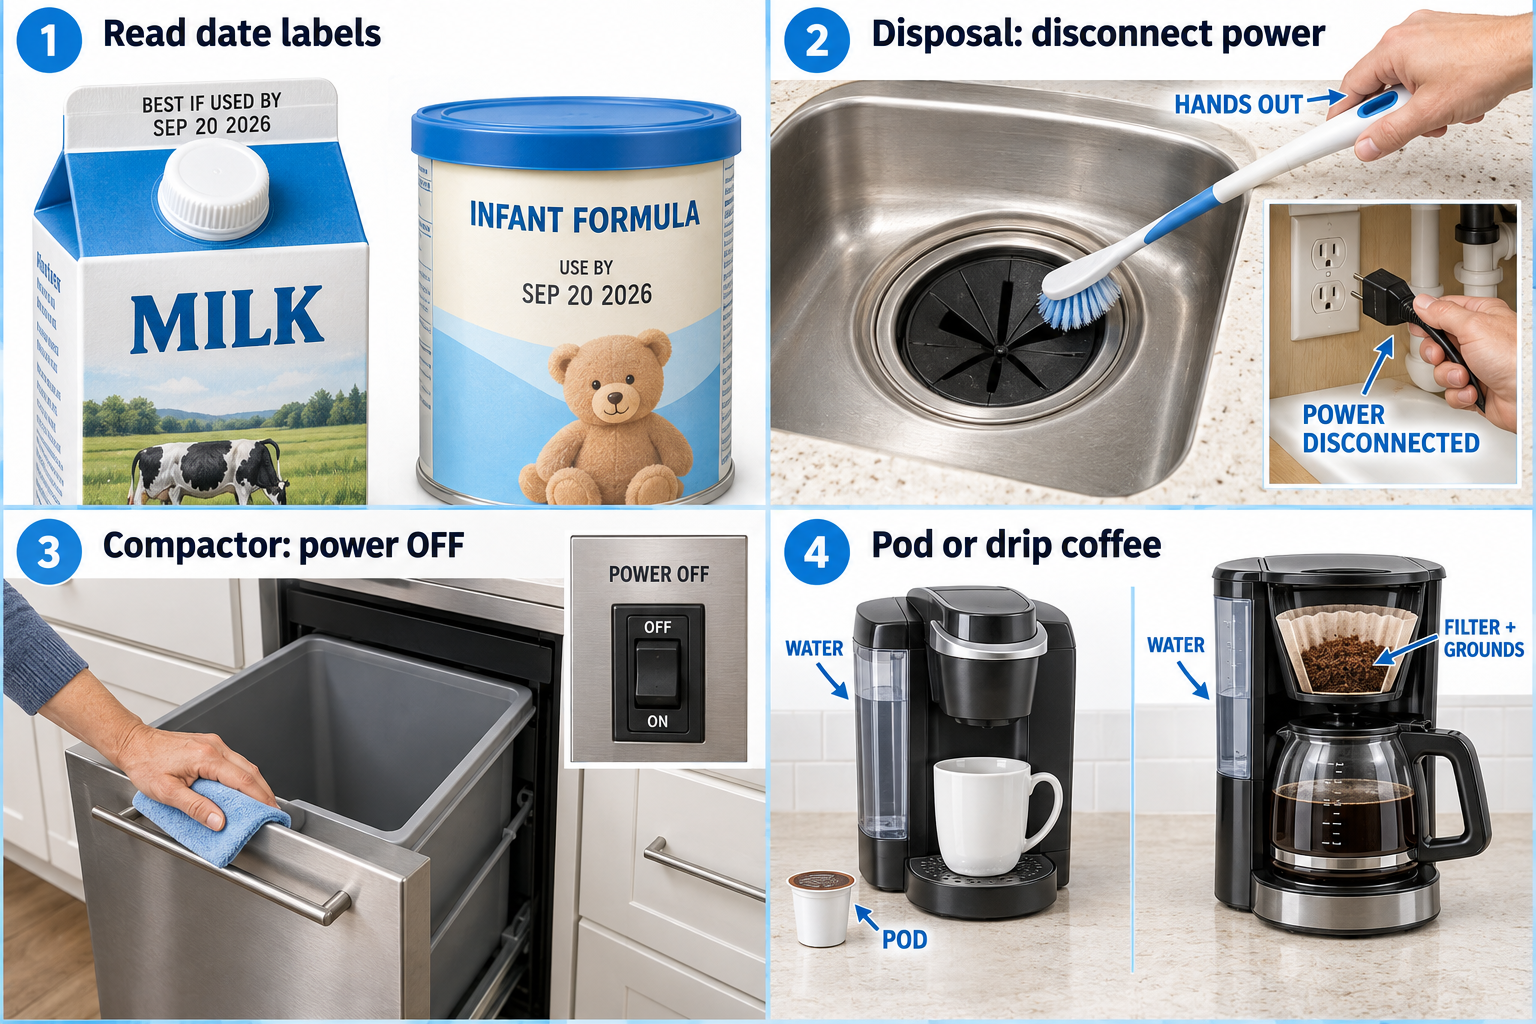
Illustration: Pod or drip coffee. Read the steps for your exact task.
A pod machine pushes hot water through one compatible pod for a cup.
A drip machine passes hot water through ground coffee in a filter into a pot.
Fill the water reservoir with the manual’s water amount, place a suitable cup/pot, load the compatible pod or filter/grounds, and start the brew.
Do not open while brewing.
Before moving to the next step
Check this specific result: I used the correct water, coffee, filter/pod, and cup.
If that result is not true yet, leave the box unchecked. Write what is missing in your notes; use the official instructions below when the equipment or situation differs.
STEP 4 OF 6
Use a kettle for water
Start here: Use a kettle for water
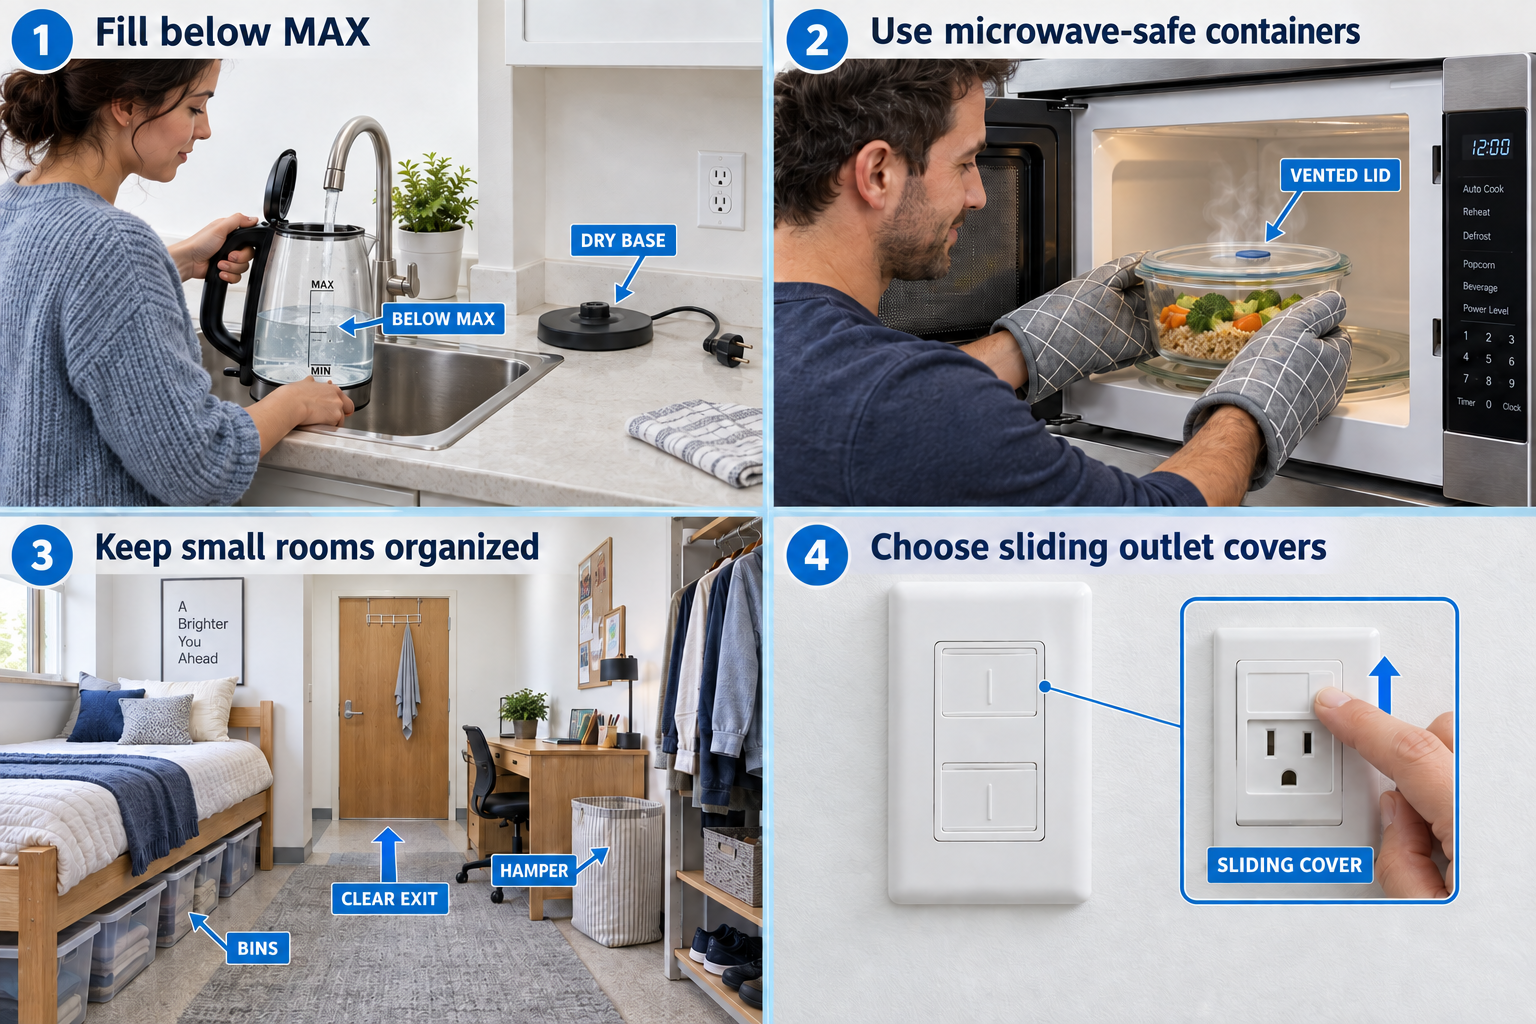
Illustration: Fill below MAX. Read the steps for your exact task.
Follow MIN and MAX marks.
Use only what the manual permits, usually plain water, and close the lid.
Keep the powered base dry.
Wait for shutoff, lift by the handle, and pour away from your body.
Steam escaping the spout can burn.
Never boil it empty.
Before moving to the next step
Check this specific result: I filled and poured the kettle safely.
If that result is not true yet, leave the box unchecked. Write what is missing in your notes; use the official instructions below when the equipment or situation differs.
STEP 5 OF 6
Use microwave-safe containers
Start here: Use microwave-safe containers
Illustration: Use microwave-safe containers. Read the steps for your exact task.
Follow food directions and the oven manual.
Do not put ordinary metal, foil, sealed containers, or a whole egg in its shell inside.
Vent suitable covers, stir where directed, and let food stand; liquid can be hot before it bubbles.
Use mitts and open covers away from your face.
Before moving to the next step
Check this specific result: I used an approved container and handled heat safely.
If that result is not true yet, leave the box unchecked. Write what is missing in your notes; use the official instructions below when the equipment or situation differs.
STEP 6 OF 6
Clean, unplug, and plan purchases
Start here: Clean and store safely.
Example: Clean and store safely. Follow the written step.
Clean only when cool and according to the manual.
Descale coffee makers/kettles with the specified method, not arbitrary vinegar mixtures.
For a first dorm, buy only an allowed auto-shutoff kettle or brewer and approved compact microwave after checking rules; a small indoor grill may belong only in a communal kitchen.
Before moving to the next step
Check this specific result: I have the rules and manual before buying or using another appliance.
If that result is not true yet, leave the box unchecked. Write what is missing in your notes; use the official instructions below when the equipment or situation differs.
Pictures for this guide
Picture 1 of 6 · Choose an allowed place
Choose an allowed place: Only where housing rules allow. Use dry stable clear space.
For: Choose an allowed place
Illustrations show examples of the actions above. Follow your equipment’s instructions.
Notes about these pictures
Read the school’s housing appliance list before buying. Ask about wattage, automatic shutoff, and where cooking is allowed. Put an allowed appliance on a stable heat-resistant counter away from water, curtains, paper, and the edge. Leave its required clearance.
Do not use a grill, toaster, kettle, or coffee maker in a dorm unless the school allows that exact type. Never use charcoal, propane, or camping stoves indoors.
Was this step clear?
Flag “Choose an allowed place” for review. We save the guide and step identifiers with your account to limit duplicates, not your private notes.
Link details checked 2026-10-03. Video availability and equipment menus can change.
These YouTube videos belong to their respective creators. Life’s Checklists does not own them and is not affiliated with the creators. Links open on YouTube, where the videos are available independently of our membership.
How to use the video with this guide
Read “Before you begin” first. Watch the relevant part, pause, then return to the written step and its completion check. Use captions and playback speed if they help. A demonstration may cover only part of the task or show different equipment.
Your model’s instructions and current official guidance take priority. For urgent problems, follow the stop instructions without waiting to watch a video.
For this guide, the final result is: I have the rules and manual before buying or using another appliance.
A concrete way to approach this task
Choose one appliance and check permitted use, suitable containers or attachments, and its manual before starting.
What if I cannot complete a step?
If a control, container, or operating mode is unfamiliar, use the exact manual. Do not assume instructions for another appliance transfer.
Identify the exact step: “Choose an allowed place.” Record what you tried, what happened, and which item or model you used. Ask for help with that specific problem rather than repeating an unsafe or unsuccessful action.
Do not use a grill, toaster, kettle, or coffee maker in a dorm unless the school allows that exact type. Never use charcoal, propane, or camping stoves indoors.
Connect this skill to everyday life
Write down the total move-in cash and monthly costs before applying. Ask which charges are required and which are optional.
Advertised rent is not necessarily the whole monthly cost. A refundable deposit still needs cash now. An application does not mean you have a signed lease.
Saved on this browser. Print this guide to keep your checks, result and notes. Calendar alerts depend on the calendar app you choose.
Notes: __________________________________________
Notes save automatically on this browser when you type.
Equipment to compare
Independent suggestions; no sponsorships or affiliate links.
Budget kettle
Mainstays 1.7 L electric kettle MS8400778514-3
$14.84
Retailer listing: 4.6/5 · 3,937 ratings
An automatic-shutoff water kettle to compare if your housing allows one.
Before buying: This is a 1,500 W, 120 V appliance. Confirm the school’s wattage and appliance rules first. Cordless pouring still requires a plugged-in base for heating.
A narrow single-cup brewer with a reservoir you refill for each brew.
Before buying: Buy only if permitted by housing. Include the ongoing cost of compatible pods or an approved reusable filter; a drip brewer may cost less per cup. Verify shutoff and electrical requirements for the exact model.
A small 700 W cooking-output microwave for an approved kitchen or dorm setup.
Before buying: 700 W cooking output is not its wall-power draw. Check the input label, housing limits, required clearances, and plate size. Use food directions for this wattage; some dorms require a school-provided unit.